Copper Plating
By Mike on Friday, January 21, 2011, 21:18 - Permalink
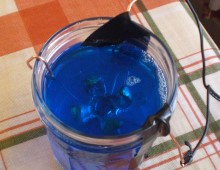 Electroplating with copper is a classic science experiment that is easy to set up, but loads of fun and can produce highly attractive results - something I haven't tried since my schooldays. I decided to give it a go again.
Materials
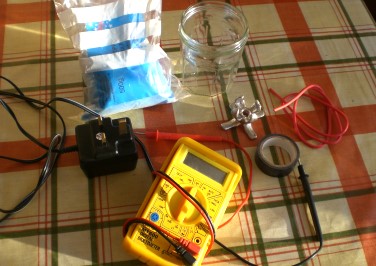 My materials comprised: A bag of Copper Sulphate crystals (a few quid on eBay), a 9V DC power supply that belonged to some long-dead bit of electronics (a dialup modem, I think), some thick copper wire (stripped out of an offcut of mains wiring cable), an old jam jar and some insulating tape.
I also used a multimeter to determine the polarity of the wires, but there are other ways to do this (read on).
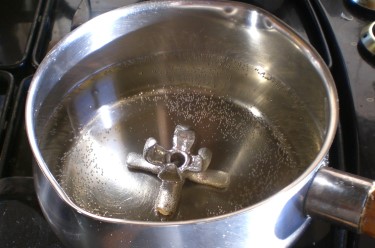 I was trying to copper plate the pewter Lard Lamp I made a little while ago. Pewter is mostly tin - and I know tin alloys with copper to make bronze, so I reasoned it should take a copper coating well.
I degreased the object by scrubbing with detergent, then boiling it in dilute vinegar for a minute or two.
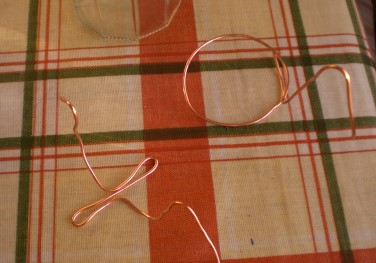 I bent two pieces of copper wire to fit the jam jar.
The anode (positive terminal) is a loop to fit in the bottom of the jar.
The cathode (negative) is designed to suspend the pewter object and allow the plating bath to circulate all around it.
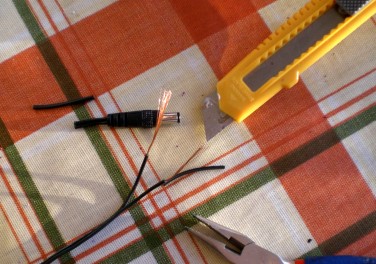 I cut the DC output plug off the end of the power supply cable and used my multimeter to find the negative terminal to attach to the cathode.
Another way to do this is to temporarily attach two plain steel nails to the wires, turn on the power, then dip them briefly in the plating bath - the cathode should identify itself by rapidly acquiring a thin coating of bright pink copper metal.
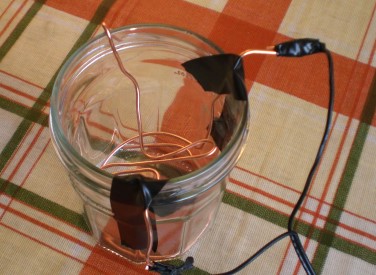 I attached the stripped wires to my copper wire terminals, then taped them into place in the jar
It's really important to make sure they don't touch one another, as this could cause the power supply to blow a fuse (or worse).
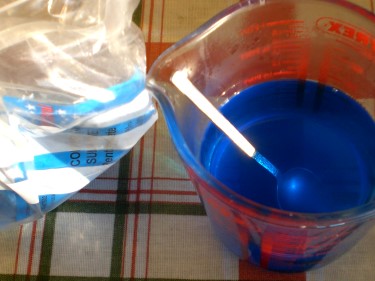 The plating fluid is made with Copper Sulphate crystals and hot water - adding more and more gradually whilst stirring, until no more will dissolve.
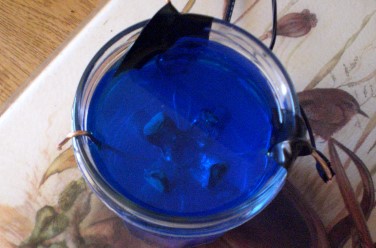 I placed the pewter lard lamp on the cathode, topped up with the plating bath solution, double checked that there were no short circuits, then switched on the power.
Almost immediately, the surface of the pewter object changed - turning dull brown pink in most places.
I gave it five minutes, then turned off the power and retrieved the item.
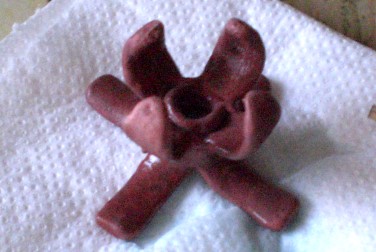 There was definitely a good coating of copper on the surface, but it was very rough and dull - this was a bit of a disappointment at first, but then I realised, it probably just needed burnishing and polishing.
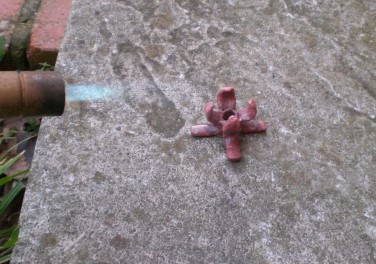 I'm not sure if it was strictly necessary, but I figured the copper might adhere best to the pewter if I heated it a little with a blowtorch.
(This needs some care in the doing, as the blowtorch flame can quite easily melt pewter, if it's applied more than sparingly)
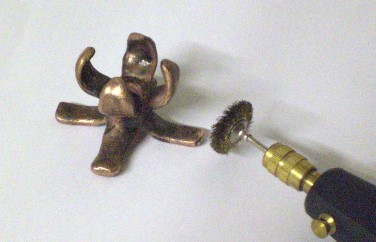 Next, I used a hobby drill with a brass brush wheel to polish the surface.
I wasn't expecting a mirror finish, because the surface of the original pewter object was mostly still that of the natural casting - slightly pebbled from the texture of the plaster mould, but it did start to shine again.
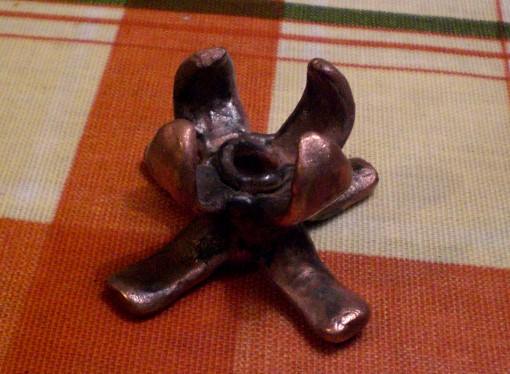
In the end, it's transformed it into quite an attractive object - the copper has blackened in places - presumably because of some galvanic reaction with the pewter, but this gives it a lovely antique effect, with which I am most pleased.
Copper Sulphate Safety
Copper Sulphate isn't noxiously poisonous - making it reasonalby safe to handle if you're careful, and wash your hands afterwards, however, it is toxic (even deadly, if consumed by the spoonful, so don't do that). Care should be taken to supervise young children when it's around, and keep pets out of the way.
